 |
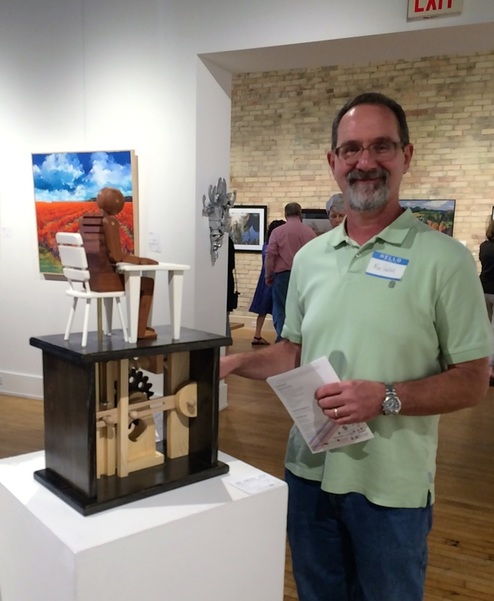
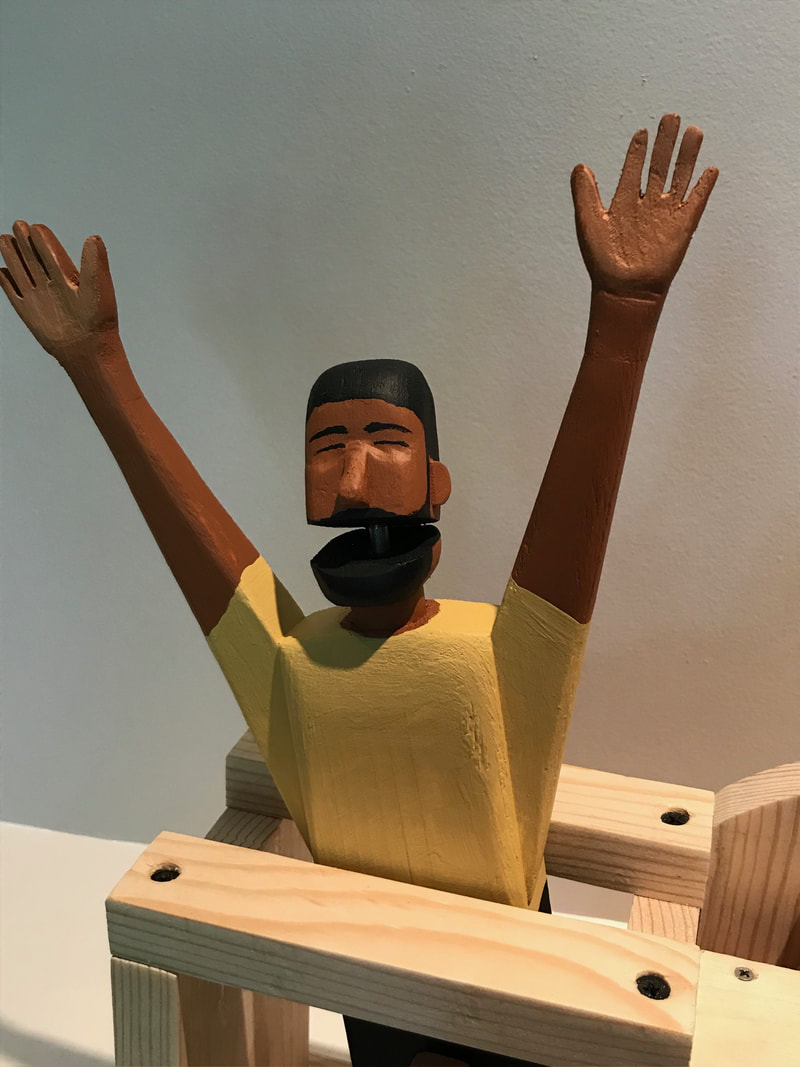
/Here is Worship. I created this automaton to raise funds for our building project. My home church, The Gateway Church of Spring Lake MI, is in the process of building a new facility. We are committed to pay for the building with cash. That’s right, no loans! We have raised over a million dollars so far and along with a group of very dedicated retired men and women known as RV MAPS, we are quickly approaching the finish. We are still raising money to fully complete the building. Things that we will be using the money for is an audio/video/lighting system, carpeting, seating and cabinetry. Our pastor believes that God has provided us all with the provision and potential to reach our goal of nearly $100,000 in the next few months. When I thought about what God has given me and what my part in the plan would be, this is what came into my mind.
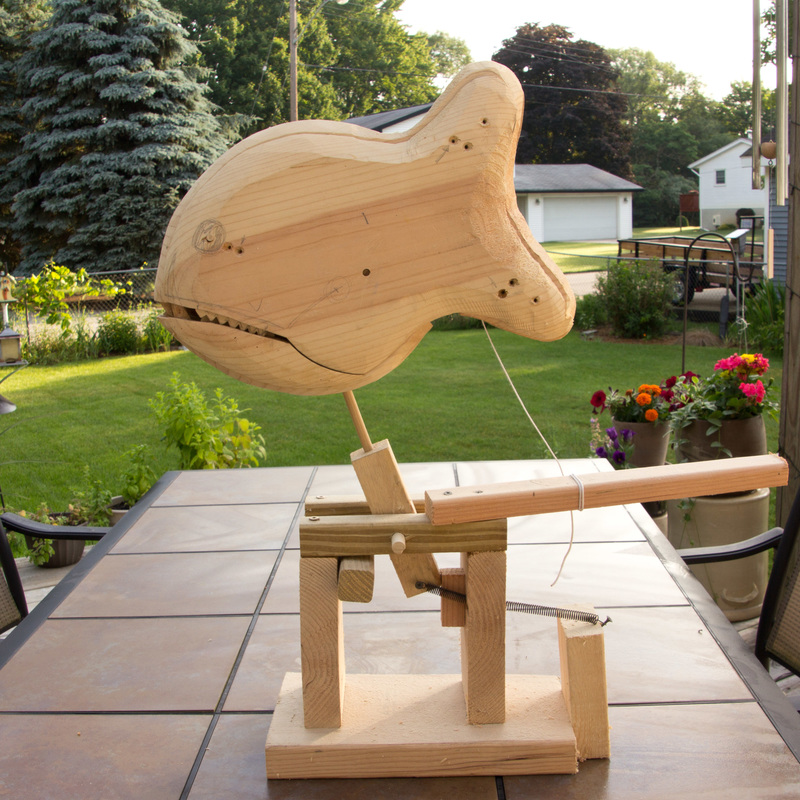
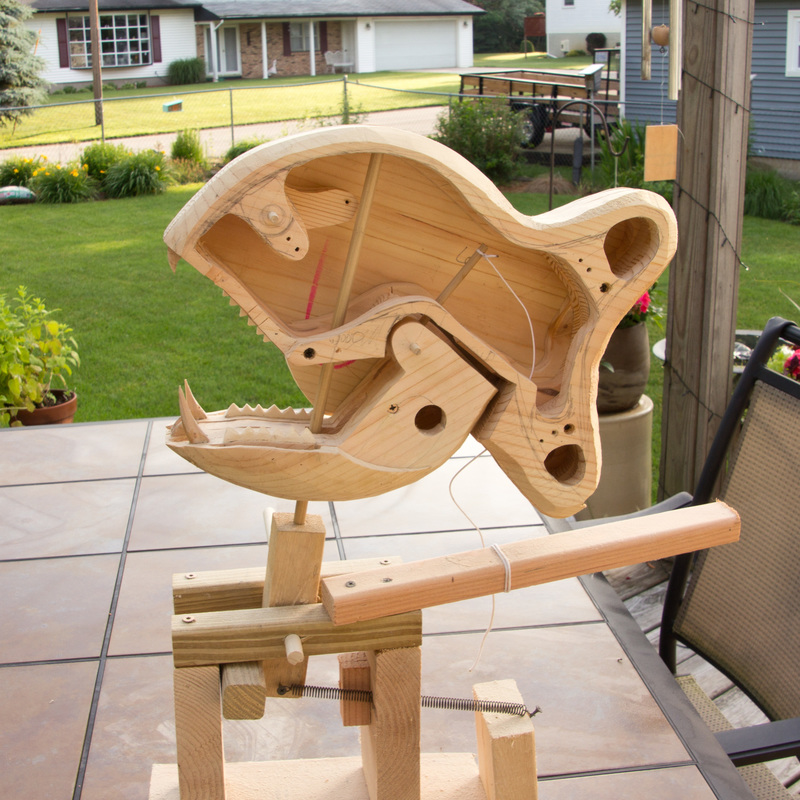
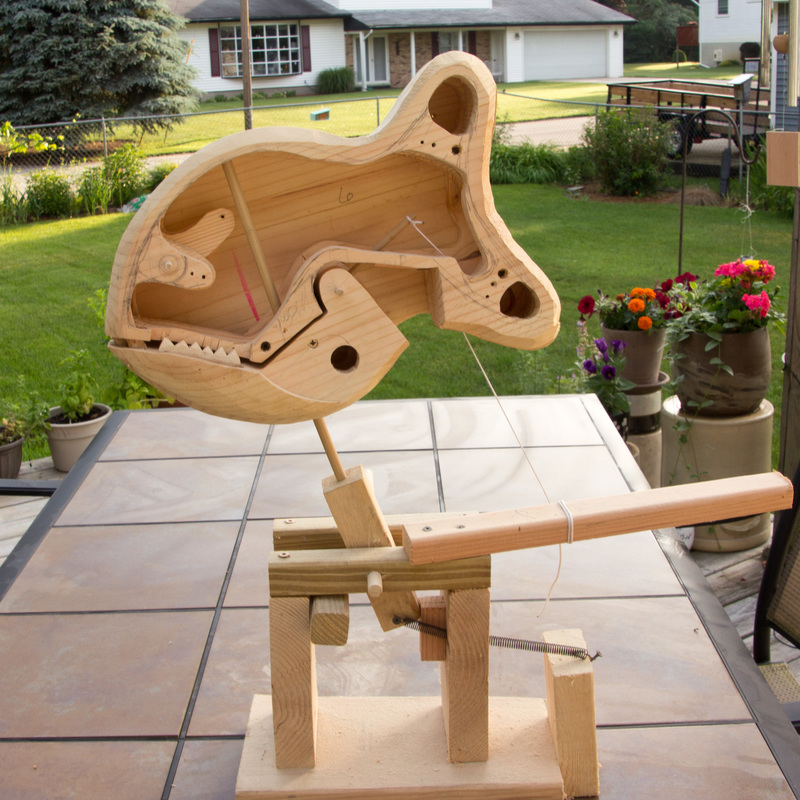
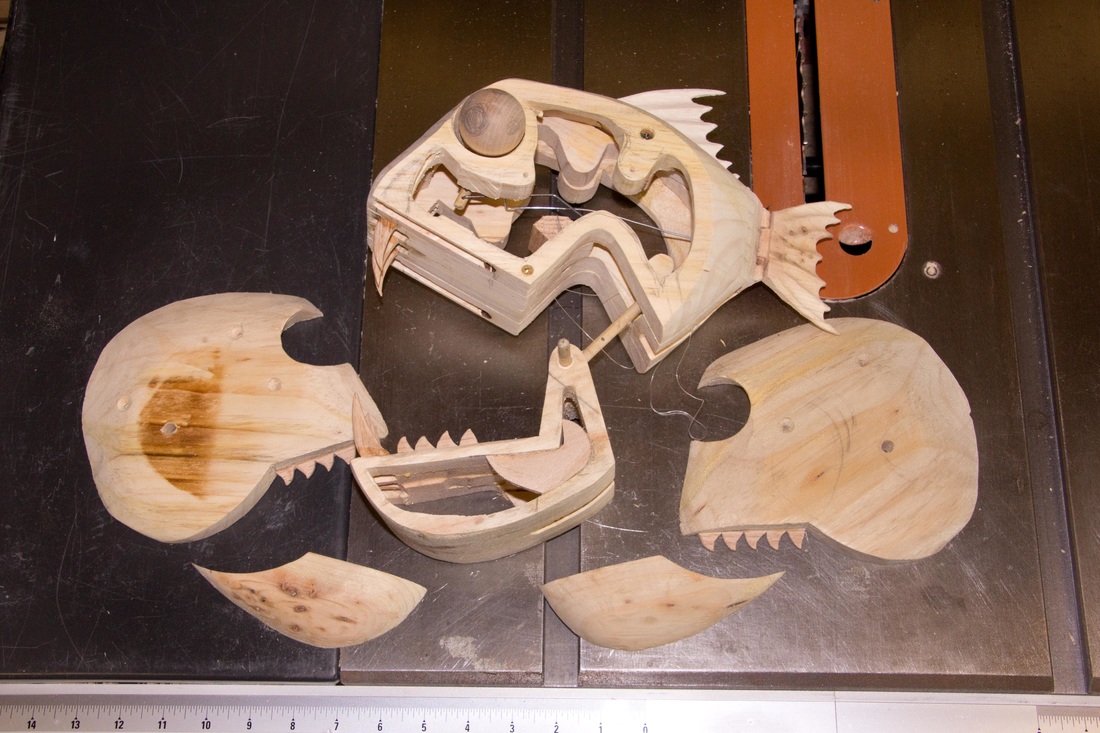
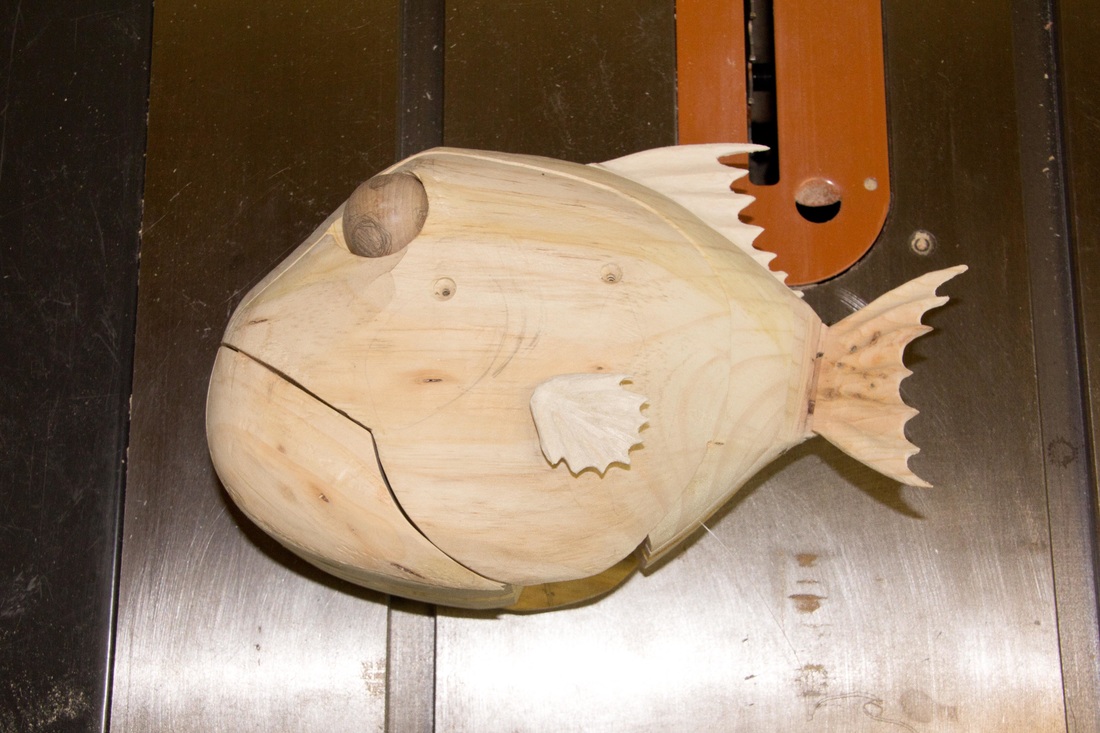
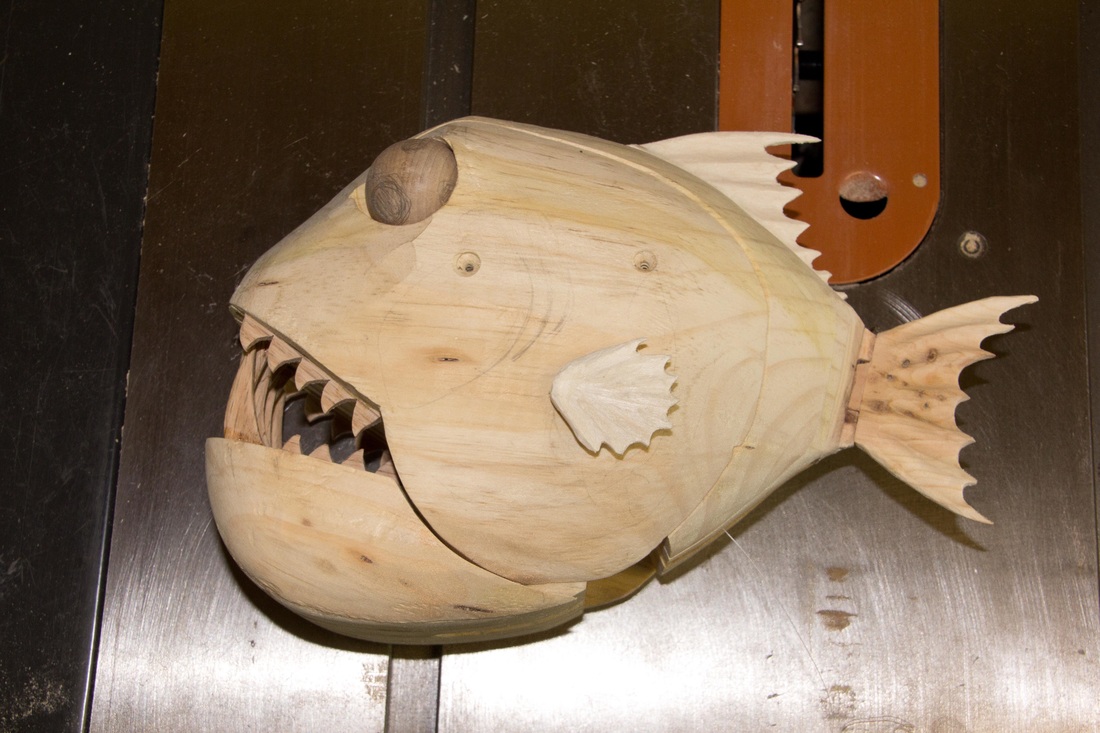
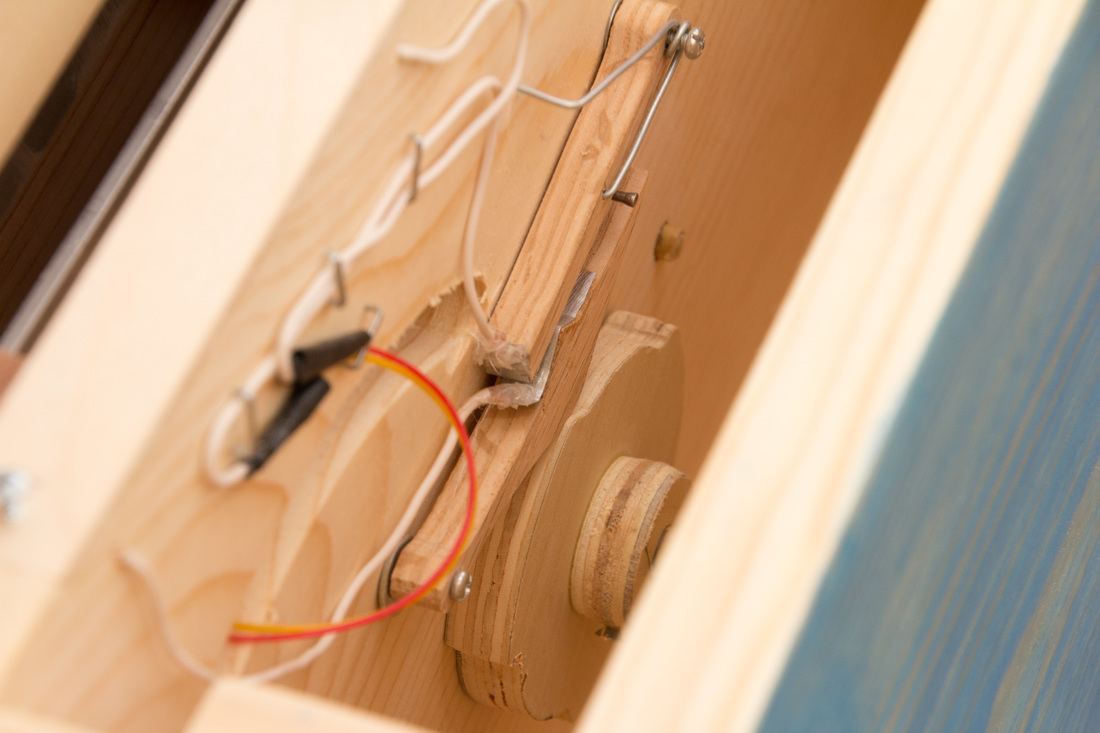
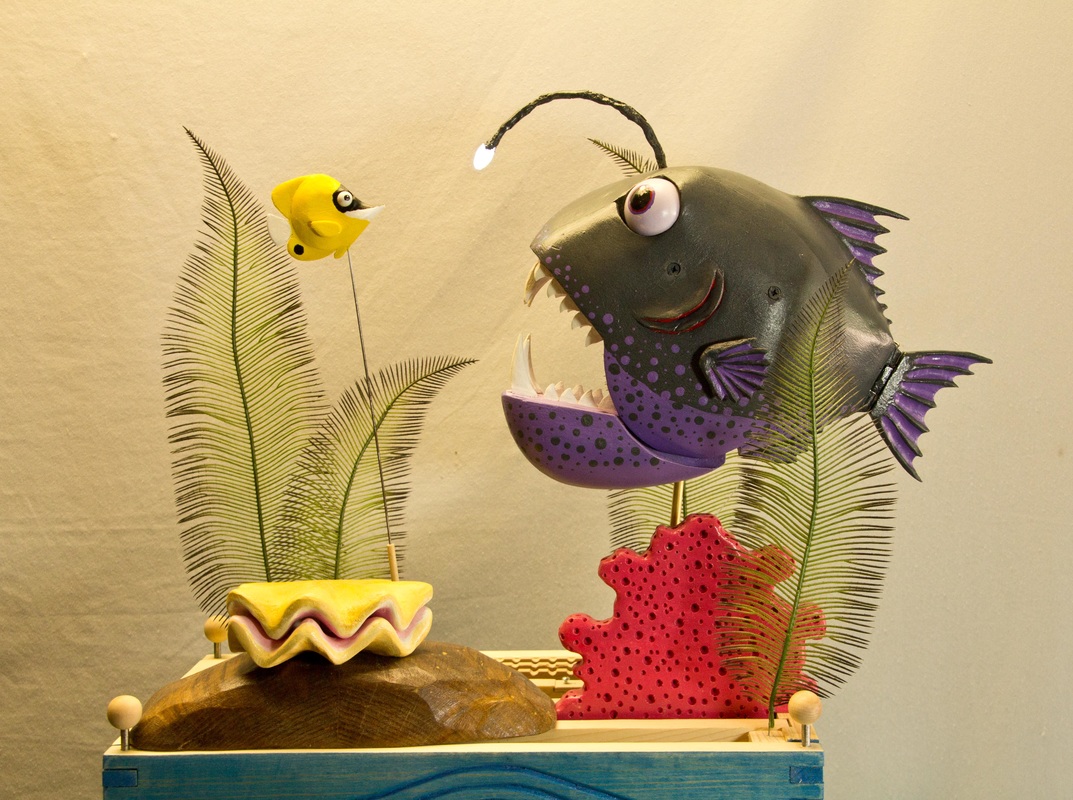
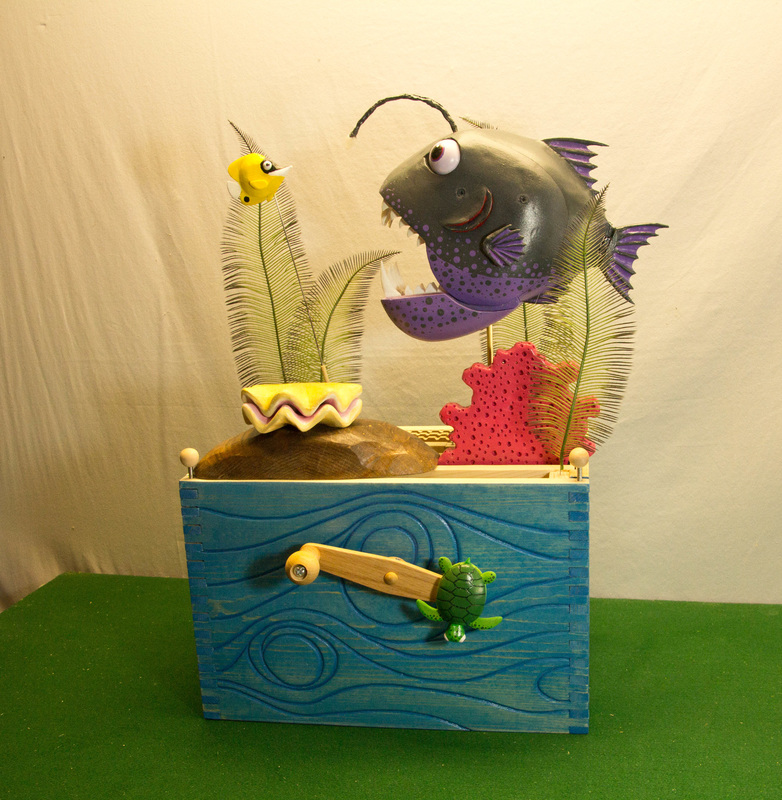
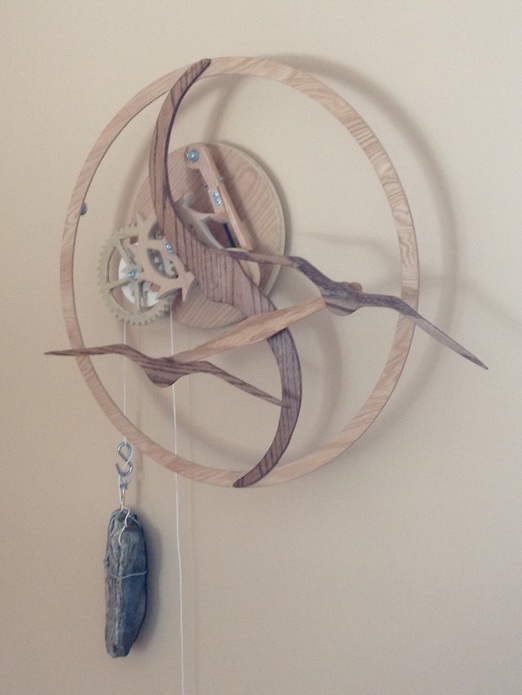
Worship is an iteration of my Barbershoppers and Sweet Adeline’s automata. It uses one of my favorite mechanisms, the Scotch Yoke. The Scotch Yoke turns rotary motion into linear motion. There is a music box connect to the gears and plays Amazing Grace. You can check out the Worship page here and see photos and a link to a video. I have drawn up plans and have written a set of instructions for Worship. They are $10 and you can purchase them on my here. 100% of the profit will go to the building fund. If you are a woodworking worshipper or a worshipping woodworker or know someone who is, please consider purchasing a set of the plans. Please share this with your family and friends so that we can accomplish the job. Thank you and God Bless You!
Worship is an iteration of my Barbershoppers and Sweet Adeline’s automata. It uses one of my favorite mechanisms, the Scotch Yoke. The Scotch Yoke turns rotary motion into linear motion. There is a music box connect to the gears and plays Amazing Grace. You can check out the Worship page here and see photos and a link to a video. I have drawn up plans and have written a set of instructions for Worship. They are $10 and you can purchase them on my here. 100% of the profit will go to the building fund. If you are a woodworking worshipper or a worshipping woodworker or know someone who is, please consider purchasing a set of the plans. Please share this with your family and friends so that we can accomplish the job. Thank you and God Bless You!